Tuesday, 30 June 2020

Bunnings Foam: Knauf Vs. Bastion.

I needed more high density foam over the weekend so I ended up at Bunnings. Bunnings now list two different brands online at the same price - the familiar yellow Knauf board and a new greenish-blue kind from Bastion. They have slightly different insulation specs, but the descriptions are basically the same (both a extruded, both claim to be 'closed cell,' both are quite tough and very light etc - although Bastion specifically lists 'hobbies' as one of it's uses, while Knauf only lists building applications).
Since the branch I was at had run out of 30mm Knauf, I bought some Bastion. And now I hope they get Knauf back in stock.
Here's why.
Here's a comparison shot. The Bastion is the blue-green stuff at the top (it's a lot greener than the extruded blue stuff you often see online and can get from Solid Solutions). Both of these off-cuts were cut using a table saw - although not the same table saw. You can start to see that the Bastion has a much coarser texture.

These are the sawed edges - note the texture of the Bastion board - it's marketed as being closed cell, but it does have a much foamier, bubblier texture. There are 'bubbles' which lead to a rough texture along cut edges. The Knauf by contrast is pretty smooth and can be sanded back so the cut edge matches the smoothness of the extruded top surface.

Here's the top surface. Knauf is nice and smooth, you can see the Bastion is pretty rough. Sanding it does not make much impact on the texure as it's caused by bubbles, so more just open up as you remove upper layers.

First test - my traditional drawing hard to make cobble stones. The Knauf takes the indentation nicely with no tearing, and the pen leaves clear marks behind so you can see what you've been doing. The Bastion however... The pen does not roll through the material, it jumps and skitters as it tears it's way through the bubbly surface. This tends to mean no ink is left, and it's hard to see what you've done. (Click for fullsize image - it's not super clear here)

Next up, cutting a line with a knife and widening it with a pen. This works much better on the Bastion Foam than just drawing. It's just about as good as the Knauf foam. Note that the rougher surface texture of the Bastion will show through when painted giving a more 'sand stone' look where Knauf's smoother surface works for denser stones such as granite.

Finally, carving rocky textures using the cut-and-flick method. The Bastion will just about manage this, but you cannot get quite as fine detail as the Knauf. It also feels a lot more fragile - at full thickness the boards feel almost equally tough (Bastion seems a bit weaker) but when carved into thinner shapes, it's clearly weaker. The detail tends to end up a bit softer too.
Okay, so conclussions time.
I did not photograph carving stone blocks using the 'V' shaped cut method as it works fine on Bastion. I also didn't photograph adding texture using the back end of a paintbrush and some preassure, or rolling a ball of tine foil. The paintbrush method works okay, but not great, and I have yet to try the tinfoil ball, but I suspect it will not be great as the bubbly surface will likely tear up (it did this to an extend with the paintbrush-butt method).
Bearing all that in mind, it's pretty clear that the Knauf foam is the better option. It carves beautifully, takes texture well and is pretty rugged even when cut thin. The Bastion board on the other hand is a little lighter, and if you don't want to carve it there's not really much of a problem. It would be fine for sand or grass covered modular terrain tiles or hills.
Of course, since both cost the same, it's really just a question of availability. If Knauf is there, buy the Knauf every time. I'm just worried that Bunnings may have changed supplier and won't be stocking the excellent Knauf foam any more. I've had a look online, and Knauf are still in business and their products are available from specialist insulation shops in much larger sheets, so I'm going to be buying online in future if Bunnings continues to fail me.

Saturday, 16 May 2020

Pretty Pictures: The first five for Waaagh! Orkzenhower!

After about a week of mucking around and experimenting, I've completed the first five models for Waaagh! Orkzenhower. The first thing I had to work out what skin colour - my usual Ork skin is a more 'natural' look, starting out with an olive green which would be far too close to the colour of WW2 GI uniforms. The solution was to go with a more traditional, brighter green Ork skin look, but it took a little while to work one out that was distinct from the uniforms. Then I had to work out how to paint the military green of the uniforms... Now that I've worked that out, I should be able to get the next lot out much faster...
Of course, getting decent pics is another problem, and I'm really not completely happy with what I have got.
Anyway, here they are.


I did try to get close ups on all of them, but they all came out rather blurry apart from the two above. I think I'll borrow the school's photo studio and lights next week and try for better.

Saturday, 2 May 2020

Ishoo Wun-Ateen: Cardboard Cottage

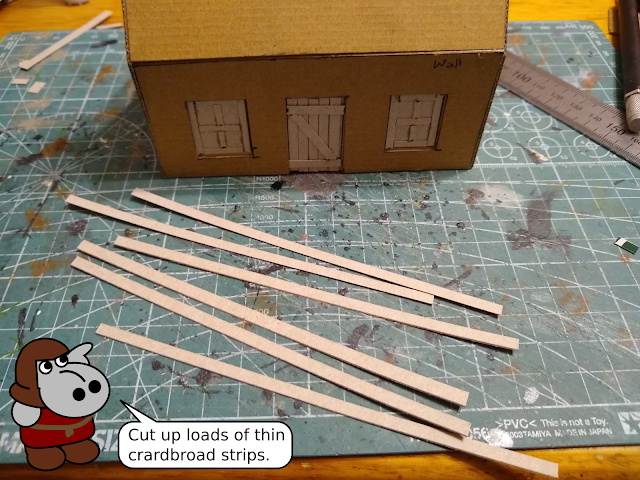
Due to the shift to remote learning, my school has been setting up a whole swathe of new clubs to help our students socialise during lockdown times. One of the new clubs is my Scale Model Club. Since most of the kids have never built a model before, and since most of them don't have any exciting kits or materials, I put together a tutorial on how to build a simple model using only cardboard from packaging, and the sort of basic tools and paint which they are likely to have for art projects. Then I thought why sit on a perfectly good project? Why not get Grot to explain it for his many fans?
So here you are, you lucky people! Apart from the static grass added at the end (and you could skip that!) this whole cottage is made from two different cardboard boxes using nothing but a knife, a pair of scissors, a pen/pencil, a ruler, and some glue. I did use both PVA and Super Glue, but you can just pick one and use it for everything. I did also use two different knives, but either one would have been fine for the whole project. You'll also notice there are more photos than I'd usually use - since this was designed for novice modellers, I went into more detail than I usually would, taking two or three photos were I'd usually only take one.
Anyway, Grot time.


Well, there you have it besieged Hippo Fans! Working entirely in cardboard really took me back to the early days of my terrain career, when I was 13 and my nan gave me the original red How To Make Wargames Terrain book for my birthday. Look out for companion pieces to this coming in future!

Wednesday, 29 April 2020

Modelling For Hppos Ishoo Firty: Orkified Sherman Gunwagon.

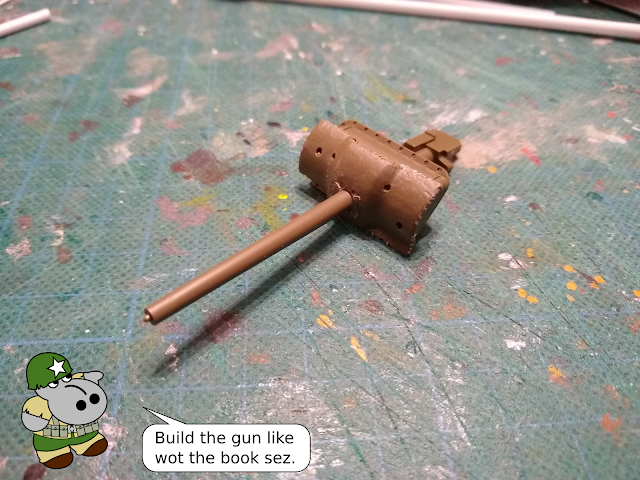
No doubt some of you recall Waaagh! Orkzenhower, part of Mad Juzzy the Flutist's Bounty, and my third Ork Army alongside Waaagh Snaggatoof and Waaagh Gruntblasta. It's the Maxmini Green Alliance WW2 US Army Orks one. In the current hobby climate I decided it was probably time to star doing something with them, so I crunched the numbers and realised that I really did not have enough of them. No problem, all they really need is a Battlewagon I thought, I'll just ork-up a Sherman. So one Tamiya M4 Early Production sherman order from Metro Hobbies later (which arrived at 0800 on Sunday - bless AusPost!) I had all I needed. Since Tamiya kits basically fall together and the modifications were not extensive, the project went very quickly and easily. How quickly and easily? Let us consult with certain experts...


You can just about see the texture of the clapboard siding in the top-left corner of the radiator...


This is how far I had gotten by the end of Sunday. You could actually fit the tracks and call it done at this point, but I wanted an open engine compartment, so onwards I plunged.


And there you have it Hippo Fans! This took three days - Sunday, and then a bit of Monday and Tuesday evenings. It's a quick and easy little project and quite effective. The key to making a 1/35 real world tank like this look right for 40K is to replace anything which is not exagerated - the gun was far too small, you'll notice I have not used any of the hand-grips from the kit as they are also too small and spindly. Ultimately, I would like the tank to be a little taller to look a bit more orky - I'm not sure if it's the Tamiya kit's fault, but it does not look as tall as I thought Shermans were... Might just be to do with viewing angles.
Anyway, I should paint up some figs to go with this beast. Until next time!