Tuesday, 1 October 2019

Ishoo Wun-Firteen: Planter boxes

Wow! Two ishoos in a day? That hasn't happened in... I think it happened once before...
While I was working on Orkness Station, I had a bit of spare time waiting for PVA to dry just after I carved the chimney. I was looking at the chimney and thinking that it was a good technique I'd like to showcase in a piece somehow - possibly an ancient dome granary, when I realised there was an easier option - plater boxes. Town councils are always trying to pretty up their public spaces, and no matter what time period, planter boxes seem to fit in. So here's a quick and timeless project. Unleash the eco-freindly Grot!


At this point it's also worth denting in some of the bricks with the blunt end of a paint brush - I forgot to get a photo of that stage... You might also want to roll a ball of crumpled tin foil across the surface to roughen it up too.


And there you go! This is a quick, easy and very effective technique. The brick/stone work really stand out at a distance too - I'm sitting across the room from one of these planter boxes (about four meters away) and I can clearly see the individual blocks. This would make a great effect for some sort of ancient and weather beaten building like a witches tower... hmmm... that's got me thinking...

Ishoo Wun-Twelv: Orkness Station.

It's been a while since I last posted an ishoo. That doesn't mean I've been idle, it just means I've been working on projects I didn't think were worth making into tutorials. I've been working away at Orkness - my 40K Ork terrain set for quite some time, but since it uses techniques I've covered, I have not turned any of it into ishoos. Until now. Because I discovered something new.
I was rummaging around in one of the school art store rooms (probably looking for a HB Pencil for a Yr.7 Viscom kid - I spend a lot of time doing that...) when I found something called 'print foam' on a dark and shadowy shelf. What I hear you cry is Print Foam? Well, it's awesome is what it is. It's basically the core from foamcore without the paper. Which means none of that tedious stripping of paper to get to the good carvable foam surface. So naturally I went to the craft shops to hunt it down. And then I built a whole lot of things with it. I even started an Ishoo, but it was really nothing special (just some stone field walls) and I forgot to take photos of the second half of the project. What I needed was something cool to show of this new material. What I needed wa Orkness Station.
Cue the Grot!


Yes, this is out of sequence. I had glued a lot together but it came a bit unglued on the trip to Melbourne. The last three pics were taken at the Hoodlings Hole while six men with fiendish gleams in their eyes played Twilight Imperium in the next room...


The colurful balls all over the place are the ends of dressmaker's pins. I use them to hold things while the PVA dries. 


And there you have it Hippo Fans!
There are actually a few bits and pieces which need a bit of tidy up still, but I wanted to get the ishoo out, so I'm going to fix them up in the morning. I will also try to get some pretty pictures of the recent Orkness projects.
And what is this I see on the horizon? Why it's only the next ishoo arriving hot on the heals of this one!

Thursday, 26 September 2019

Odd little update: handpainting billboards.

This is an odd little update because I just realised how long it's been since I posted to the blog. I was working on an ishoo using a new material I've just discovered, but I went and forgot to take photos of the whole second half because I got too excited by the process. (It wasn't a very fancy ishoo anyway - I'm about to start work on a replacement which used the material and techniques in a more exciting way.)
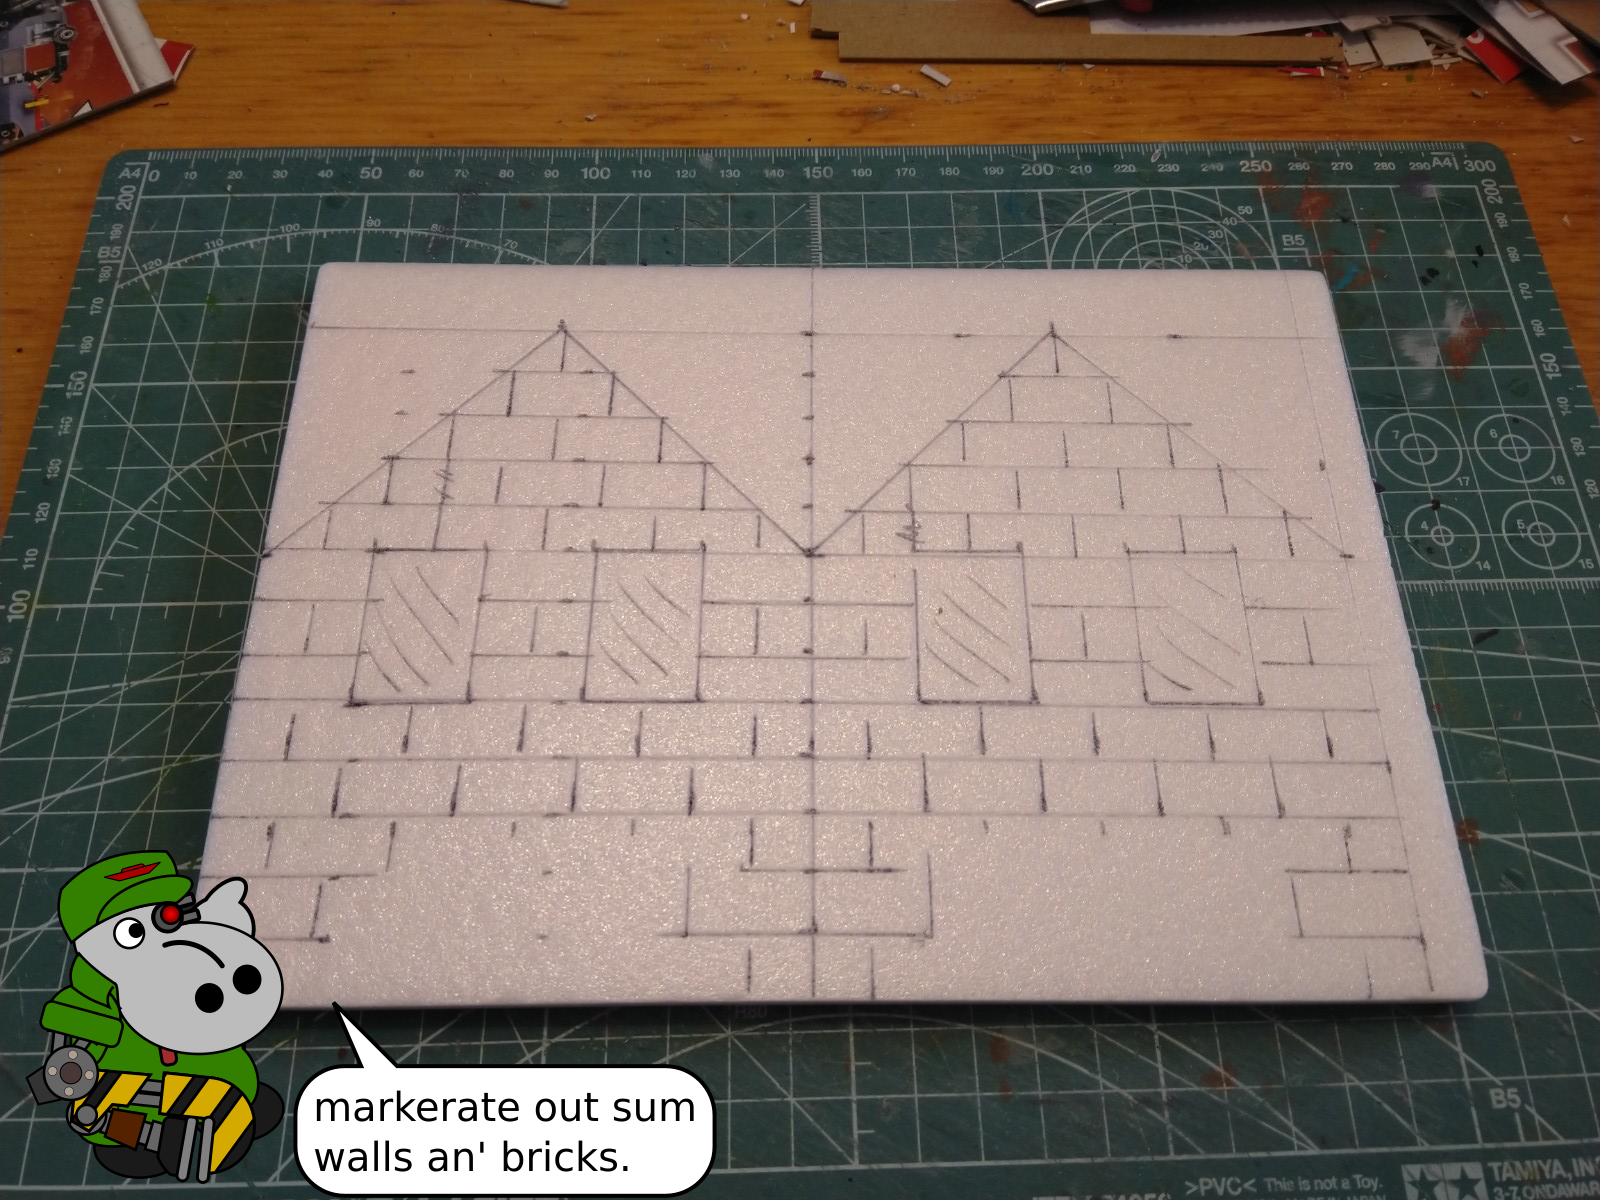
So anyway, it's school holidays once more in the fair and fairly wet south-east of Victoria so I've been working on more Orkness stuff. I'm almost finished construction on an imperial shrine which the orks have turned into a missile silo (when I say almost completed, I mean only the shrine - I have yet to start the missile) and I dug out a half finished old project which I had cast aside in order to have time to finish it's companion piece for a little wars game. The old project is Mrs. Griselda Primm's Home for Wayward Girls Grots. I had the shell done, but it needed a base and details. My original plan involved having a cage hanging off the side, but I decided it would be fragile, so I needed something to fill the space. A billboard seemed to fit the bill. Giant vintage signs and billboards really help set the tone for something like Orkness - a shabby 1950s English seaside resort overrun by Orks (and also 38,000 years in the future). I thought about just downloading a vintage billboard, but then realised I wanted something orky. ENTER ORKA COLA!
In lieu of a proper ishoo, here's a quick guide to how I hand painted the Orka Cola billboard.
The starting point - a 12cm X 9cm panel of thin corrugated card from a Lego box. There are various bracey wot nots on the back, and the back has been painted up as rusted metal. The various ruled lines are for various different sizes of billboard I experimented with before settling on this one.

Here the background has been painted in using Vallejo paints and a range of slightly knackered brushes.

The Ork himself has now been added using Vallejo paints and much better brushes. He started out Sick Green and was highlighted up by adding Goblin Green and finally a mix of Goblin Green and Rotting Flesh (Or is ti Dead Flesh in Vallejo?) Some shade was aded using a Model Colour green of which I know not the name.

Here the sign is test fitted to the building at about 21:30 last night. At this point my eyes protested and I stopped painting.

Bright and early this morning I sprang from my bed, casting aside the covers and scale reference cat and completed the lettering. I have added some black wash around the outsides of the figure and lettering to make them stand out from the background more.
And her we see the Orka Cola sign installed in it's rightfull place. Rousing huzzahs!

All up, painting the sign took about and hour to an hour and a half. Transferring miniature painting skills to painting on a flat surface was not too hard and I found the whole experience quite relaxing. I recommend hand painting murals and signs to all terrainicidal maniacs out there.