No doubt some of you recall Waaagh! Orkzenhower, part of Mad Juzzy the Flutist's Bounty, and my third Ork Army alongside Waaagh Snaggatoof and Waaagh Gruntblasta. It's the Maxmini Green Alliance WW2 US Army Orks one. In the current hobby climate I decided it was probably time to star doing something with them, so I crunched the numbers and realised that I really did not have enough of them. No problem, all they really need is a Battlewagon I thought, I'll just ork-up a Sherman. So one Tamiya M4 Early Production sherman order from Metro Hobbies later (which arrived at 0800 on Sunday - bless AusPost!) I had all I needed. Since Tamiya kits basically fall together and the modifications were not extensive, the project went very quickly and easily. How quickly and easily? Let us consult with certain experts...
You can just about see the texture of the clapboard siding in the top-left corner of the radiator...
This is how far I had gotten by the end of Sunday. You could actually fit the tracks and call it done at this point, but I wanted an open engine compartment, so onwards I plunged.
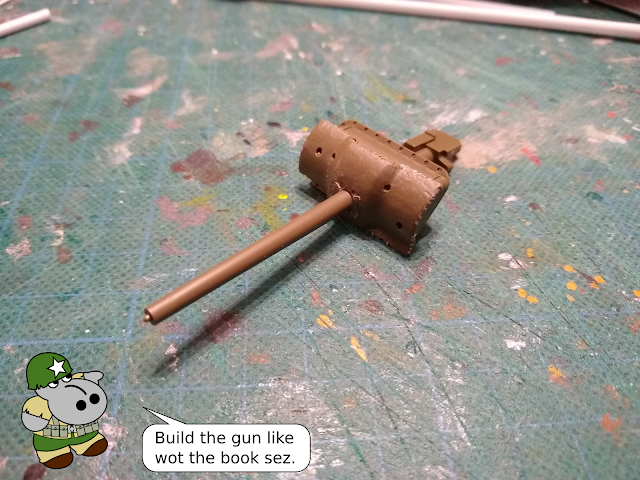
And there you have it Hippo Fans! This took three days - Sunday, and then a bit of Monday and Tuesday evenings. It's a quick and easy little project and quite effective. The key to making a 1/35 real world tank like this look right for 40K is to replace anything which is not exagerated - the gun was far too small, you'll notice I have not used any of the hand-grips from the kit as they are also too small and spindly. Ultimately, I would like the tank to be a little taller to look a bit more orky - I'm not sure if it's the Tamiya kit's fault, but it does not look as tall as I thought Shermans were... Might just be to do with viewing angles.
Anyway, I should paint up some figs to go with this beast. Until next time!


Great Ork conversion.
ReplyDeleteIt rocks!
ReplyDeleteI'm guessing, to stick armour plates to curved surfaces, do you hear the plate, dry fit into position till it hardens bent like that then you glue it or are you using any other method?
Actually I just bend the plastic around a rod or tube to get it to curve.
DeleteNo heating at all? Wow nice 2 know. TY.
Deletehow do you cut your plasticard? My normal method of using a xacto knife is a pain!
ReplyDeleteStandard score and snap. 1mm plasticard usually takes two passes of a sharp knife, then you can snap it easily. .5mm only takes one pass.
ReplyDelete